


Connect Setup Guide
If you’re using the new version of Connect, download the documentation here.
Solution Overview
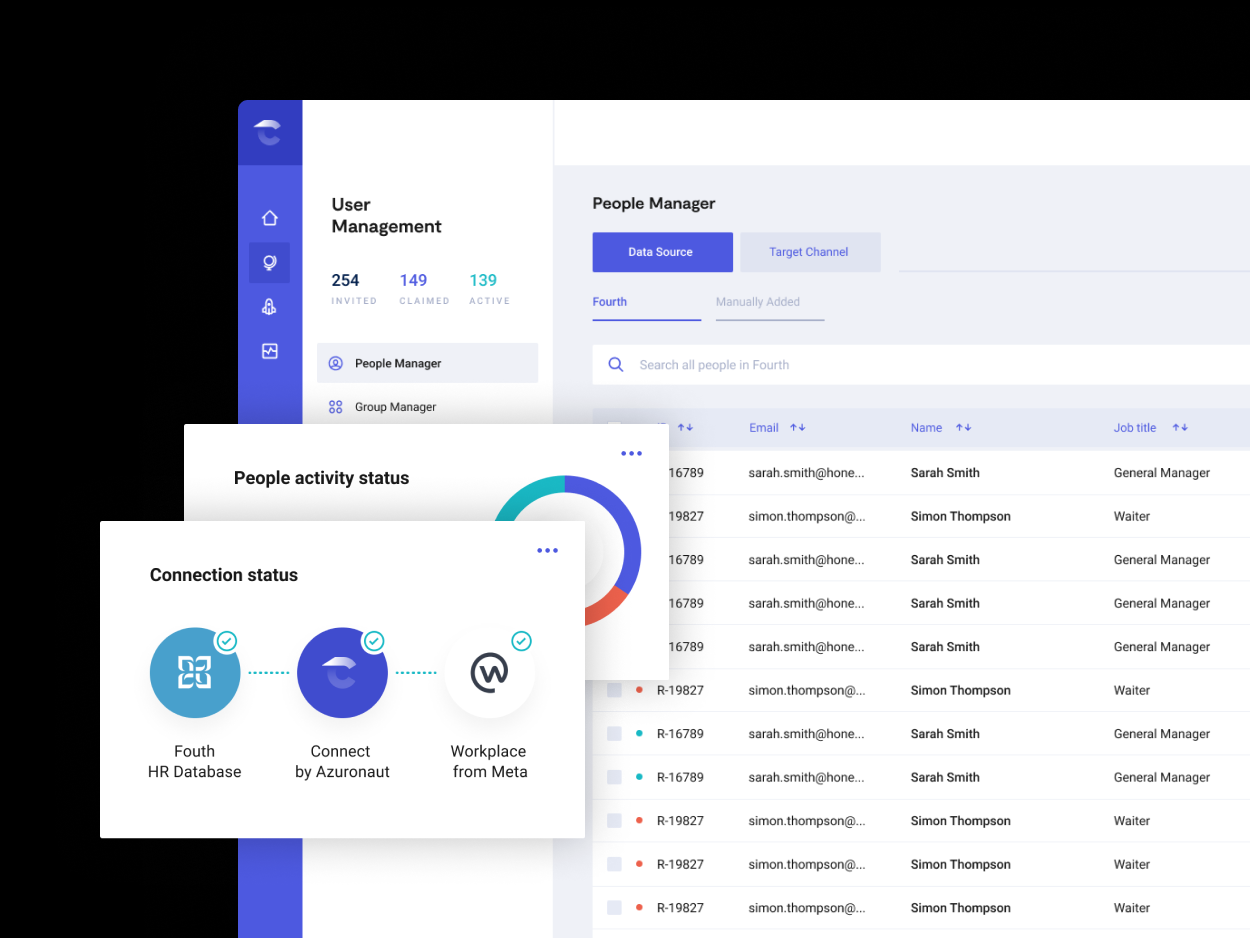
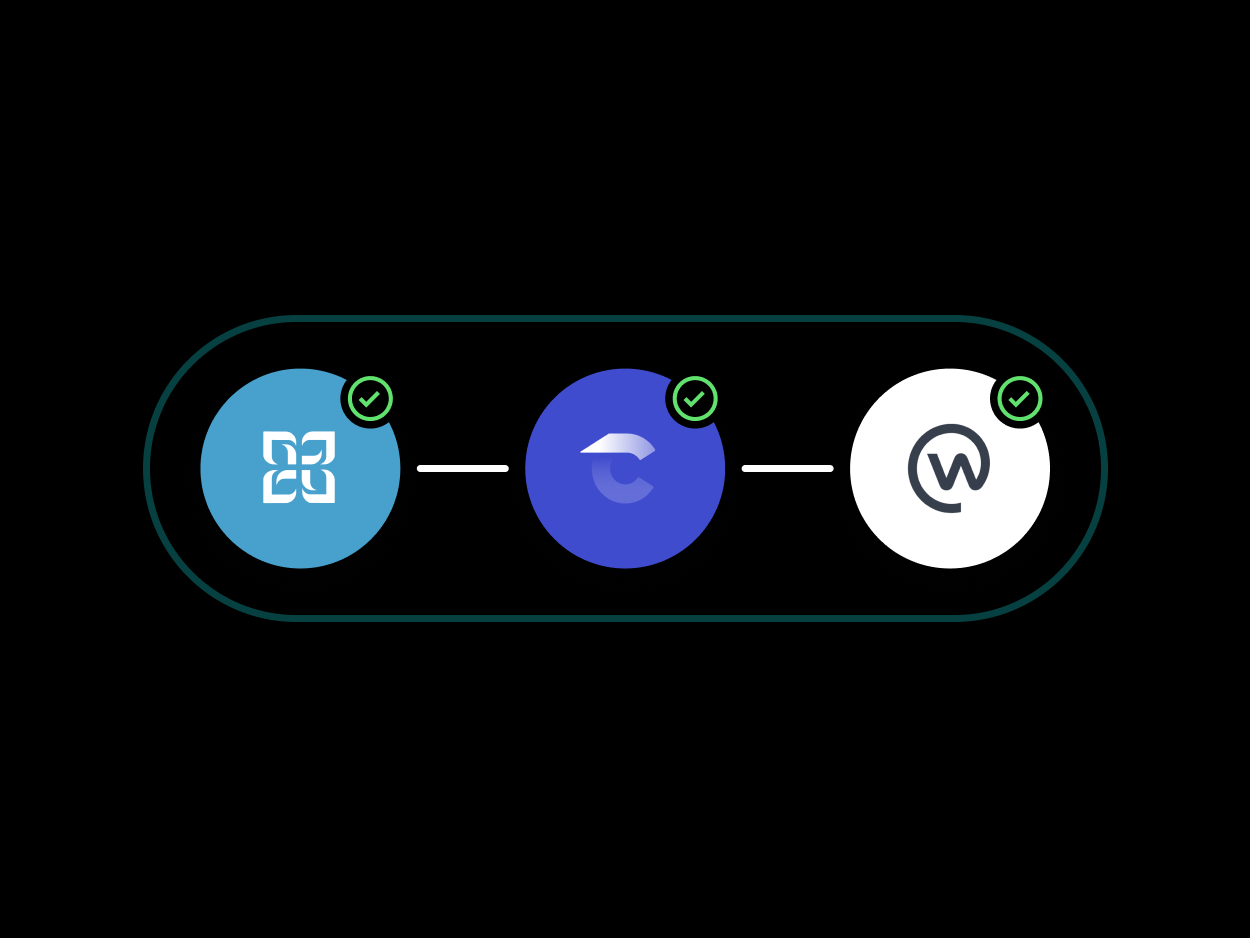
Connect is an intelligent user and group management solution for Workplace. At a high level, Connect allows you to:
- Create, update and deactivate people to Workplace without requiring access to the Workplace admin panel.
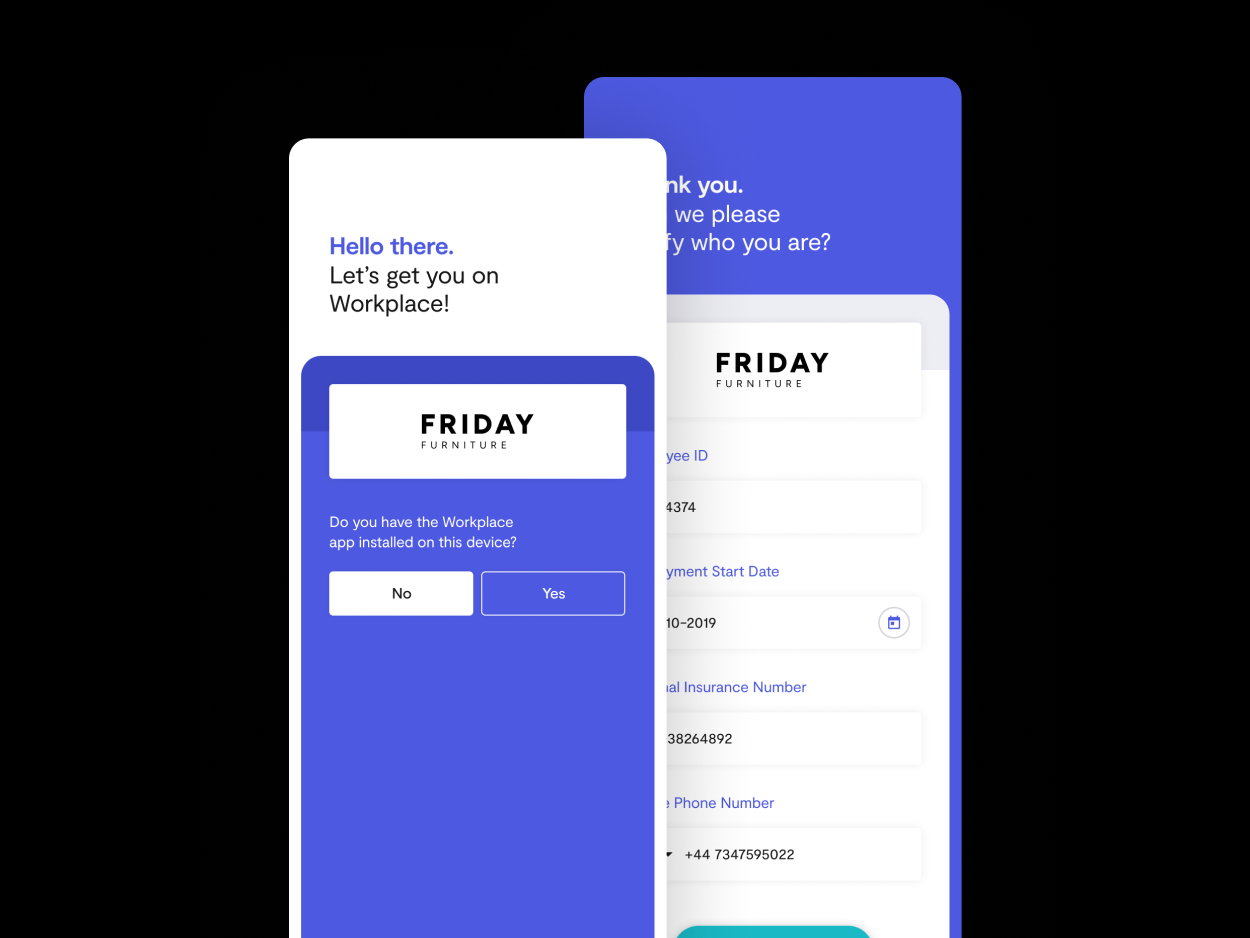
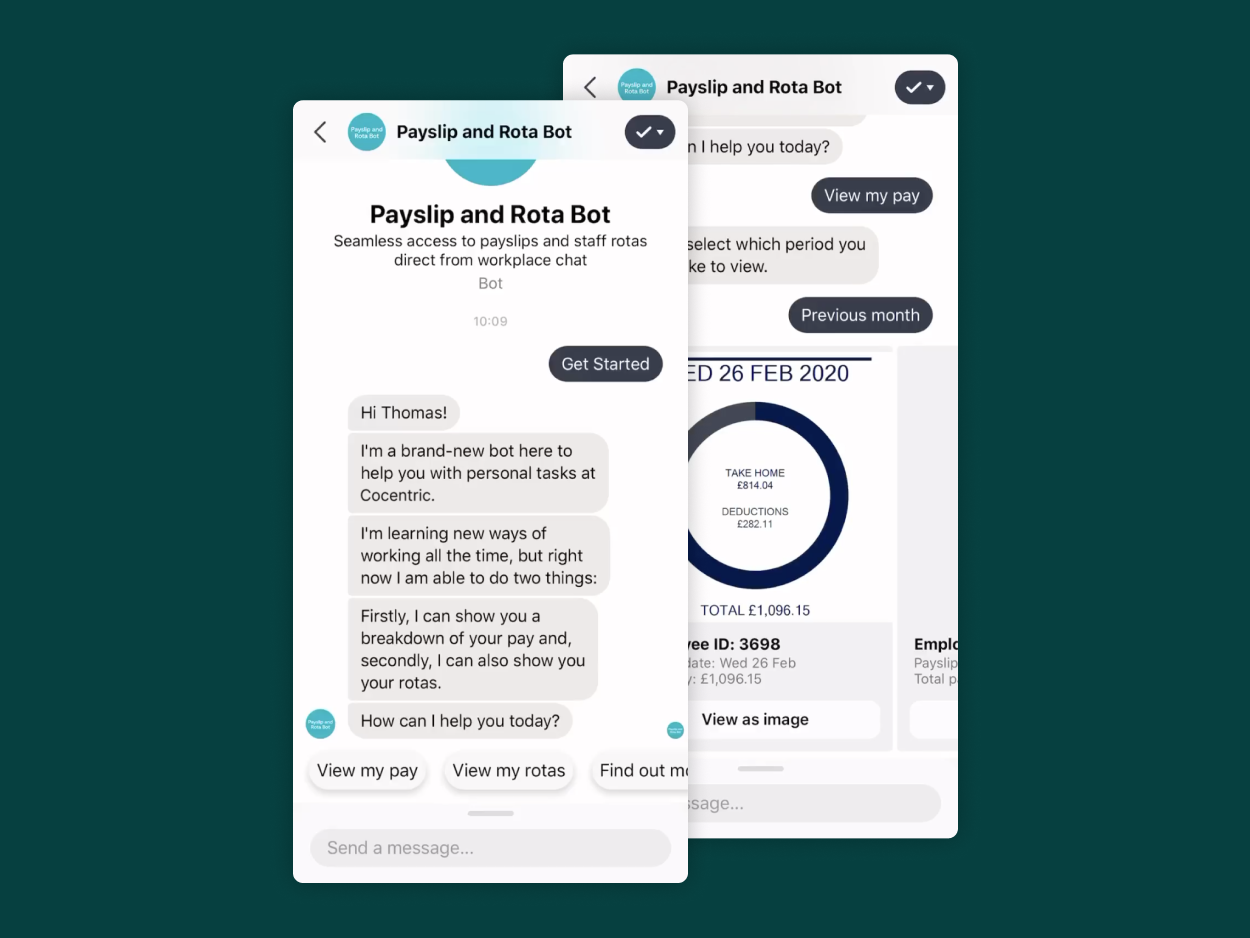
- Manage people without a corporate email address and automatically deliver their Workplace access codes via mobile messages
- Manage accounts on a site, franchise or company level
- Automatically manage group membership based on group rules
Definitions
| ID | Description |
| email-less user | This is a user without a corporate email address |
| Workplace access code | 16-digit code to activate an email-less |
| tenant | Complete Connect environment with full visibility |
| site group | Segregated visibility for a site who is a member of a franchise |
| site | Segregated visibility for a single site |
| uninvited account | Created account that isn’t invited in Workplace |
| unclaimed account | Invited account that isn’t activated in Workplace |
| claimed account | Invited account that is activated in Workplace |
Structure
Connect has a tiered structure to allow fine-grain control and management of users in Workplace. This structure comprises of three levels:
- Site -> individual container to store and manage users
Example: a single shop containing the shop’s users
- Site Group -> Group of Sites
Example: all shops in the UK
- Tenant -> Your entire Connect environment, including all Site Groups and Sites

Connect Admin Roles
Tenant Administrator
- Can access all site groups and sites
- Create site groups and sites
- Create, edit and deactivate users
- Invite all users
- View connectors and the assigned users
- Assign site groups to site group administrators
- Assign sites to site administrators
- View audit logs
- View message logs
- Get access to tenant settings
- Create new tenant, site group and site administrators
- View synchronization jobs
Site Group Administrator
- Can access all assigned site groups and the sites assigned to the site groups
- Create sites for the site groups that you can access
- Create, edit and deactivate users for all of the assigned sites
- Invite users that are created underneath an assigned site
- Create new site group and site administrators for the assigned site groups
- Assign site groups to site group administrators
- Assign sites to site administrators
Site Administrator
- Can access all assigned sites assigned to the site administrator
- Create, edit and deactivate users for all of the assigned sites
- Invite users that are created underneath an assigned site
- Configure Workplace Integration
- Request Connect Instance
You can request your own Connect instance by reaching out to [email protected] where you add the email address of the user that will be created as the tenant administrator.
Install the Connect application in Workplace
Before you can manage accounts directly from Connect to Workplace, you will need to install the Connect application into your Workplace environment. You can install the app directly from our website.
You will need to complete the following steps in order to install the Connect application in Workplace:
- Navigate to https://cocentric.com/workplace-applications
- Click on the “Install Connect” button
- You will be redirected to your Workplace environment and be presented with the application overview page.
Note: You’ll need to be logged in as a Workplace system administrator in order to install the application. - Click on “Add to Workplace” to install the Connect application on your Workplace environment.
Note: We recommend that you enable the “All groups” option in case the Azuronaut support team needs to create group mappings in order to automatically assign group memberships based on user attributes. - You will now see the Cocentric Connect application within the “Added to Workplace” section of the Integrations page
Once the Connect integration has been installed in your Workplace environment, you will be able to log in to Connect and manage your Workplace accounts directly from Connect.
Note: It’s important to mention that Connect contains an out of the box integration to synchronize accounts from Connect to Workplace which is enabled by default and can’t be disabled. This means that all users that are created, updated or deactivated in Connect will automatically be synchronized to Workplace.
Uninstall the Connect application in Workplace
When you want to uninstall the Connect application in Workplace, you’ll need to make the following steps:
- Log in as a system administrator to Workplace
- Navigate to the Admin Panel
- Go to the Integrations page
- Click on the “Azuronaut Connect” integration
- Click on the “Uninstall” button

- Click on the “Uninstall” button
- The application will be uninstalled
When the application is uninstalled, you won’t be able to synchronize users from Connect to Workplace.
Configure Workplace Settings
Enable the creation of email-less users in your Workplace environment
When you want to create email-less users in Workplace, you’ll need to enable this in the settings. You can enable the creation of email-less accounts by completing the following steps:
- Log in to your Workplace environment as a system administrator
- Go to the Admin Panel
- Navigate to the “Settings” section
- Enable the checkbox “Allow co-workers without an email address to log into Workplace using an access code” Enable email-less account creation” . When you’ve created email-less users, you’ll see the following message: “Email-less users are created”
Configure default authentication settings in Workplace
Because of a current restriction in Workplace, the default authentication method needs to be set to password in case that you’re using both single sign-on and password to authenticate your users. You can change the default authentication setting by completing the following steps:
- Log in to your Workplace environment as a system administrator
- Go to the Admin Panel
- Navigate to the “Security” section
- Click on the “Authentication” tab
By default, the Workplace environment is set to “password” but if you would use a combination of both “sso” and “password”, you’ll need to make sure that the default authentication method is set to “password”.
 Default authentication settings – password only
 Custom authentication settings – authentication method set to password
Logging in to Connect for the first time
When your Connect environment has been created, you’ll receive an email with a link to activate your tenant regardless of your admin role.
After you click on “Confirm my email address”, you’ll be directed to https://my-int.azuronaut.ai where you’ll see a message that your email address has been confirmed. You’ll also have to set your account password during this part of the account activation.
Optionally, two-factor authentication can be enabled at a tenant level and if this is enabled for your environment, you’ll have to configure the two-factor authentication after you’ve chosen a password.
You will need to enable the two-factor authentication by completing the following steps:
- Download one of the following authentication applications:
- Google Authenticator
- LastPass Authenticator
- Microsoft Authenticator
- Authy
- Yubico Authenticator
- Open the authenticator application and scan the QR code presented on the screen
- Enter the “Verify Code” which is presented in the authentication app and click on the “Verify” button.
- When the verification was successful, you should receive a message that the two-factor authentication has been enabled successfully.
- You should now be able to log in to Connect as one of the assigned admin roles.

When the username and credentials are entered correctly, you might need to enter a two-factor authentication code if this has been configured for your Connect environment.
Once you’ve entered the two-factor authentication code, you will be guided to the groups and sites page within Connect.
From this page, you will be able to manage site groups, sites and users depending on the permissions that are given to you.
Manage Site Groups
When you log in as a tenant administrator, you’ll be able to create a site group and configure the defaults values and settings of the site group. In order to create a new site group, you’ll need to click on the “New Site Group” button.
When you’ve entered a name and optional “Employee Id Prefix”, you can click on the “Save” button to create the new site group. Right now, only tenant administrators will be able to see the site group because no site group administrator has been assigned to the site group.
Site groups that are created won’t have any sites assigned to them because a tenant or site group administrator will need to create sites for this site group.
Manage Defaults
You can configure the default attribute values for the location, division, department and job title by clicking on the “Manage Defaults” button.
When you click on the “Save” button, the default attribute values will be stored in the site group and each site created under the site group, will inherit the defaults.
Settings
When you click on the “Settings” button, you should be able to change the name, enable the site group and define an employee id prefix.
New Site
Finally, when the defaults and the settings are configured, you can click on the “New Site” button to create a site underneath the site group. You will be able to change the name, enable the site and define an employee id prefix.
Manage Sites
When you’ve created a site, you will be able to click on a site to see all of the users that are assigned to this site along with the possibility to manage site defaults, create a new user, import users and edit the site.

Manage Site Defaults
When you open the site defaults, you’ll be able to create default attributes in the same way that you can configure attributes for a site group. The main difference here is that you can choose to inherit the attributes from the site group, define a different set of default attributes specific to this site or merge the site group defaults with the site defaults.

- Inherit: When you enable inherit, you will only be able to set the default attribute values coming from the site group.
- Merge: When you enable merge, you will be able to set the default attribute values coming from the site group as well as creating new default attribute values for this site.
- Allow user value: When you enable allow user value, you will be able to select a default attribute value (if they are configured) but also set a value that’s not predefined by the site group or site defaults.
Edit Site
When you click on the “Edit Site” button, you will be able to change the name, enable the site and set an employee Id Prefix that’s different from the site group settings.

New User
When you’ve configured all of the default attributes and settings, you’ll be able to create users to a specific site. You can create a new user by clicking on the “New User” button which will allow you to create a user to the site.
- Required attributes: External ID, First Name, Last Name, Language, Start date, Location, Department and Job Title
- Optional attributes: Access Code Delivery, Division, Organization and Manager
Note that the External ID is only required in case the user type is set to “Access Code” instead of “Work Email”, in this case the required field will be Work Email Address.

When all of the required and optional fields are entered, you can click on the “Save” button to create the user. The user will now be visible in the list of users that are created for this site.
Import Users
It’s also possible to import a spreadsheet by clicking on the “Import Users” button. This will allow you to create or update multiple users at the same time.

You can create or edit multiple users by downloading the Connect Import Template, fill out all of the users and their attributes that you want to create or edit and upload the file.
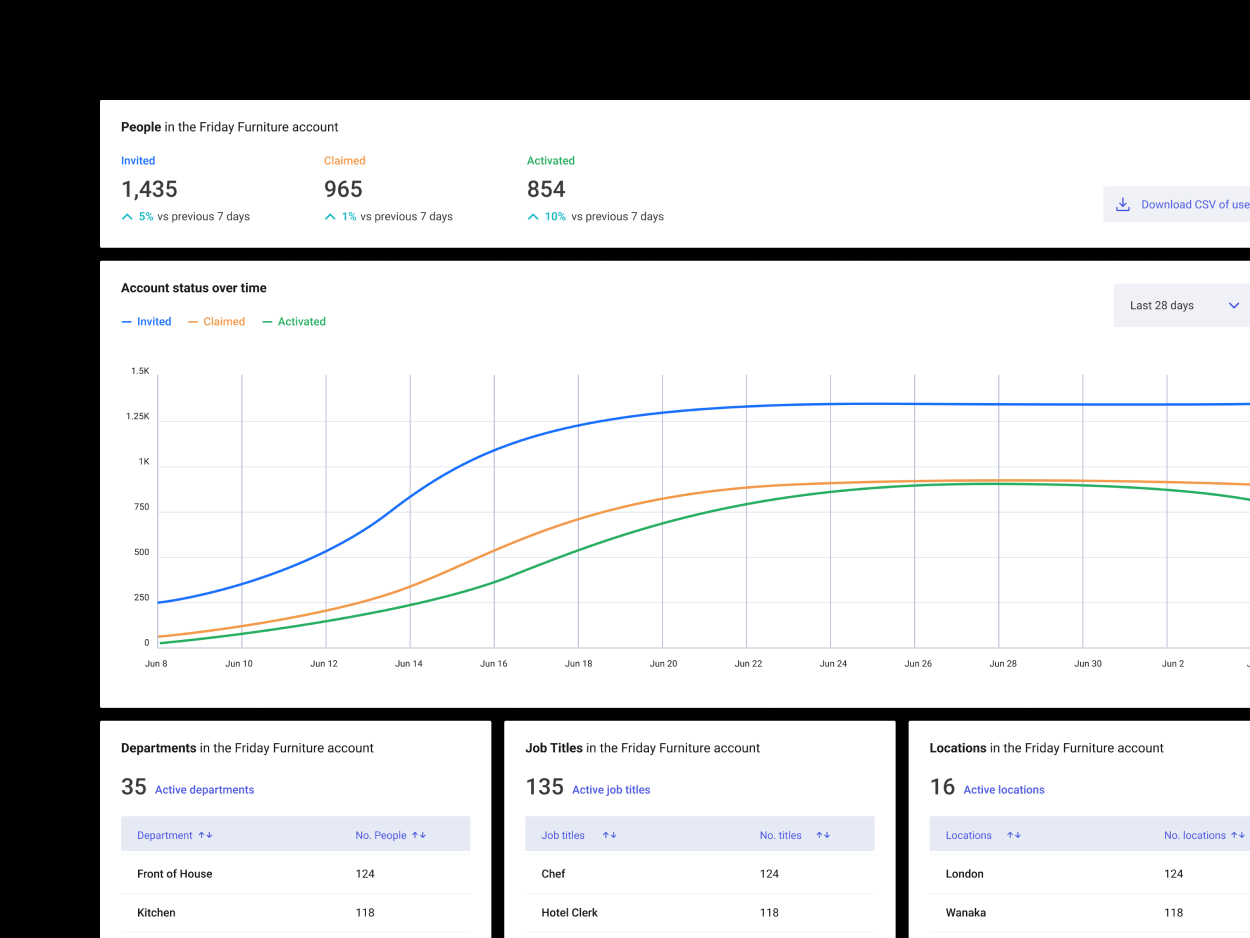
User Status
When you click on a site, you’ll see a list of different tabs:
- Active: This will show all of the users that are currently active and synchronized to Workplace
- Deactivated: This will show all of the users that are currently deactivated in Workplace and Connect
- Claimed: This will show all of the users who have claimed their accounts in Workplace
- Invited: This will show all of the users that are invited to Workplace but didn’t claim their account yet
- Awaiting Invitation: This will show all of the users that didn’t receive a Workplace access code
The typical flow is that a user will be created in Connect and as soon as the account is created in Workplace, the user will be visible in the “Awaiting Invitation” tab. You can now choose to send the Workplace access code to the user via personal email, personal mobile phone or by exporting the Workplace access code and sending it to the user manually.

When you configure Connect for the first time, you won’t be able to send email or sms messages yet as you’ll need to configure the template in the tenant settings. It is possible, to export the list of Workplace access codes and send it to the tenant administrator until you’ve configured the personal email and sms settings.
When you invite a user through the “Export Access Code”, you’ll see that the user will stay in “Awaiting Invitation” until the moment that the account is claimed. From that moment, the account will be visible in the “Claimed” tab.
In case that you’ve configured the personal email and sms template in the tenant settings, you’ll be able to use the “Send Invitation” button at which moment you’ll see that the invited user will move from “Awaiting Invitation” to “Invited”.
Workplace Group Memberships
When you create a new site and add a member to that site, Connect will automatically create a new group and assign the site users as a member of that group
Tenant Settings
The Connect environment has a couple of areas where you can change the setting, create administrators and add the administrators to a tenant, site group or site.
Settings
The settings menu can be found as part of the Connect menu’s and contains the following options:
- General:
The general options will allow a tenant administrator to enable the account creation for employees with a work email address and to automatically send invitations in case an account is created.
- Defaults:
The defaults option will allow you to set default attribute values which can then be inherited by the different site groups.
- Templates:
The templates will allow you to configure the message that will be sent when inviting users via email and sms messages. It’s possible to create as many templates as you want but you’ll need to request a support ticket so that we can apply these changes.
Administrators
When you navigate to the Administrators menu underneath Administrators, you will be able to create a new user as administrator. It’s important to note that this user will only serve as a Connect administrator and won’t be created in Workplace.
When you click on the “New User” button, you will be able to create a new administrator where it’s mandatory to enter the following information:
- Name
- Email address
- Language
You’ll then be able to set the role for the administrator to a tenant admin, site group admin or site admin.
When you click on the “Save” button, the administrator will be created and you’ll be able to assign the administrator to a site group or site in case that the administrator role wasn’t set to tenant administrator.
Permissions
When you click on the Permissions menu underneath Connect, you’ll be able to navigate to the administrator that you’ve created and assign site groups or sites, depending on the administrator role.